
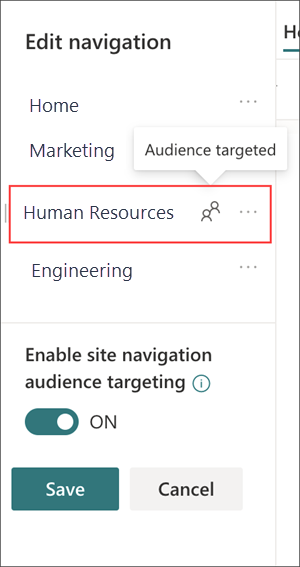
To enable audience targeting for navigational links on SharePoint Online, follow these steps:
- Navigate to the SharePoint Online site where you want to enable audience targeting.
- Click on the gear icon in the top-right corner of the page and select “Site Settings” from the drop-down menu.
- Under the “Site Administration” section, click on “Navigation”.
- In the “Structural Navigation: Editing and Sorting” section, select the navigation item that you want to target.
- Click on the “Edit” button next to the navigation item.
- In the “Navigation Editing and Sorting” dialog box, scroll down to the “Audience Targeting” section.
- Check the box next to “Enable audience targeting”.
- Click on the “Add Target Audiences” button.
- Select the audience(s) that you want to target from the list.
- Click “OK” to save your changes.
- Click “Save” to save the changes to the navigation item.
Repeat the above steps for each navigation item you want to target. Once you have enabled audience targeting for all the relevant navigation items, the links will only be visible to users who belong to the targeted audience(s).